 Add Row
  Add
Add 

Measuring Your Backsplash: A Step-by-Step Guide
Are you thinking about a kitchen upgrade by adding a stylish backspl... ack? Before you get started, measuring for your backsplash accurately is essential.
Why Accurate Backsplash Measurements Are Crucial
Getting the measurements right before a backsplash installation can save you time, money, and stress. Here's why precise measurements are crucial:
- Avoid Material Shortages: There's nothing worse than running out of tiles midway through your project.
- Prevent Overspending: Buy only what you need, and avoid unnecessary expenses.
- Saves Time and Effort: Measure once, and do it right the first time.
- Budgeting Made Easy: Understanding your square footage allows for accurate cost calculations.
- Reduce Waste: Lower waste means more savings and less hassle.
Gathering Your Tools
Before you begin measuring, make sure you have the right tools:
- Measuring tape
- Pencil
- Paper or notebook
- Calculator (optional but helpful)
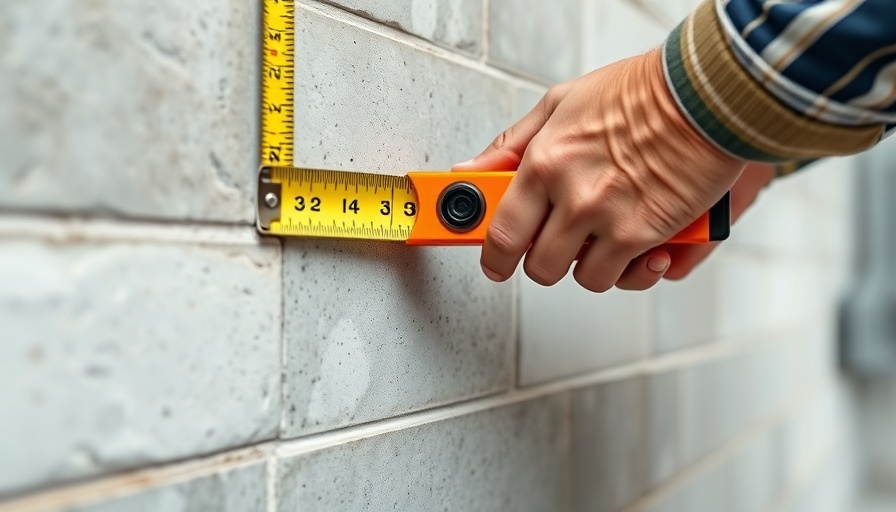
Step 1: Measure Length and Width
Using your measuring tape, measure each section of your backsplash. If your kitchen has multiple areas under various cabinets, divide these into manageable sections. It's often easiest to measure in inches:
- Length (in inches) x Width (in inches) = Area (in square inches)
For example, if the entire backsplash wall under your cabinets is 156 inches long and 12 inches wide, you’d calculate:
- 156 x 12 = 1,872 square inches
Step 2: Convert to Square Feet
To convert square inches to square feet, divide your total square inches by 144 (since 1 square foot = 144 square inches):
- 1,872 ÷ 144 = 13 square feet
Step 3: Adding It All Up
If you're working with multiple sections, repeat the steps above and add the total square footage together. That sum gives you the total backsplash area that needs covering.
Planning for Waste: Why Overage Matters
It’s also vital to account for waste, cuts, or any repairs that may arise later. Adding some extra tiles is a good idea. As a rule, consider accounting for:
- 10-15% extra for standard tiles
- 15-20% for more complex tile shapes, such as mosaics
Common Misunderstandings in Backsplash Planning
Many DIY enthusiasts worry they will either purchase too much or too little tile. Here’s a breakdown to help clarify:
- Too Much Tile: Leads to wastage and overspending, especially if you purchase various designs.
- Too Little Tile: Can slow your project down significantly, forcing a wait for restocks.
Engaging Yourself in the Fun of DIY
Whether it's adding a colorful accent or a clean white look, a backsplash can completely change your kitchen's vibe. Have fun with your project! Make your measurements intentionally and watch your creativity turn into reality.
Frequently Asked Questions About Backsplashes
What costs are involved in installing a backsplash? Installation costs range widely based on materials and workspace but generally fall between $500 and $1,700.
How can I ensure a cohesive look? You might consider only placing a backsplash in key areas instead of covering the entire wall, saving costs while maintaining your design goals.
Final Thoughts: Let Your Kitchen Shine!
Your kitchen isn’t just a gathering space; it's the heart of your home. By accurately measuring for your backsplash, you're not just ensuring a beautiful outcome but investing in the overall enjoyment of your culinary space.
Get started today with confidence! Share your measurements, purchase your tiles, and transform that wall into a stunning focal point!


 Add Row
  Add
Add 
Write A Comment