 Add Row
  Add
Add 

Transform Your Bathroom with a Stunning Board and Batten Wall
It’s amazing what a little creativity and hard work can do to transform a space, particularly one as crucial as the bathroom. A board and batten wall treatment—historically rooted in functionality and design—can breathe new life into any dull bathroom. Taking cues from recent DIY trends, homeowners have discovered the beauty of this method. With the right materials and approach, your bathroom can go from stagnant and uninspiring to a modern oasis.
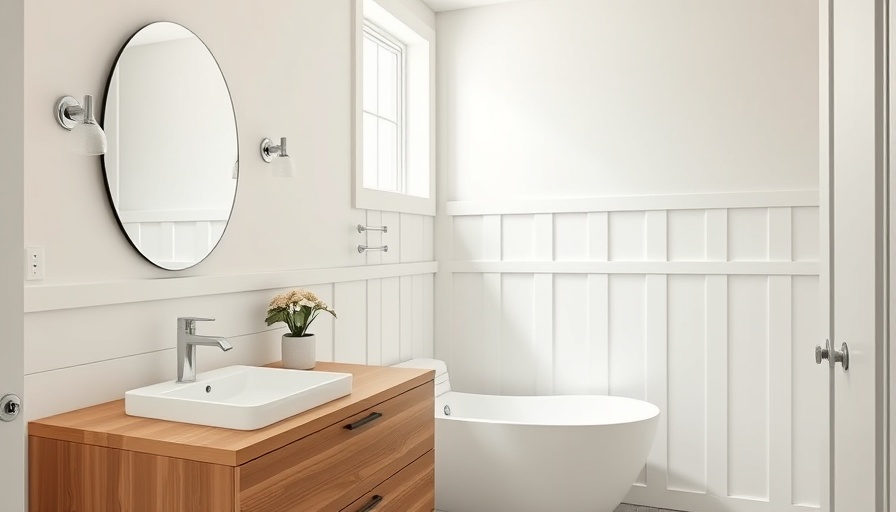
Why Board and Batten? A Charming Stitch in Home Design
Board and batten, a timeless design trend, combines horizontal boards with vertical strips (battens) that can infuse a space with character. This simple yet effective technique has a storied history, primarily stemming from rustic architecture. Its adaptability means it can suit a variety of bathroom aesthetics, elevating even a basic remodel into a statement piece.
Choosing the Right Materials: PVC vs. Traditional Wood
In recent projects, including my own bathroom remodel, the pros and cons of using PVC versus wood have come into focus. Traditional materials like pine and MDF seem appealing at first. However, moisture can warp these woods over time, an unforgiving outcome in a humid bathroom environment. Opting for PVC board not only offers a touch of elegance but also provides resilience against humidity—a key consideration for any bathroom renovation.
Your Step-by-Step Guide to Installing a Board and Batten Wall
Ready to tackle a board and batten installation in your bathroom? Here’s a straightforward approach to ensure your project is successful:
- Prepare Your Space: Clear out existing fixtures and ensure a clean, smooth surface by removing any wallpaper or outdated tile.
- Measure and Cut Your Boards: Use precise measurements to cut your boards, typically 1x3 or 1x4 size, to avoid any fitting issues.
- Install the Base: Secure your first horizontal board at the base of the wall, followed by additional boards spaced evenly to create the desired aesthetic.
- Attach Battens: The vertical elements, or battens, can now be affixed in similarly spaced intervals that complement your overall design.
- Final Touches: Finish off your project by caulking seams, filling holes, priming, and painting your new boards. This not only enhances appearance but also seals everything against potential moisture damage.
Adding Personal Touches and Features
Beyond the aesthetics, integrating personal details can enhance the functionality of your space. Consider adding floating shelves or decorative hooks along the top trim of your board and batten wall to create a deposition area for towels or toiletries. With modest planning, a board and batten design can evolve into a personalized sanctuary.
Community Inspiration: Share and Discover
The beauty of DIY home improvement lies not only in the finished product but also in the community built along the way. We encourage you to engage with local DIY groups or share your journey on social media platforms. This functionality combined with visual storytelling strengthens community bonds, igniting inspiration in others who embark on similar projects.
Final Thoughts: Your Bathroom Awaits Transformation
Creating a board and batten feature wall in your bathroom not only enhances the design; it echoes the stories we collectively create in our homes. So, whether you’re a seasoned DIYer or a bright-eyed beginner, your next bathroom project could define your personal space for years to come. Don’t hesitate—roll up those sleeves, grab the materials, and start crafting your next beautiful chapter!


 Add Row
  Add
Add 
Write A Comment